


Warwick 5 String Bass Upgrades
| A regular customer asked us to upgrade his much gigged and loved Warwick Streamer bass. This bass was oringinally equipped with a simple passive circuit comprising of single volume and tone controls and a front mounted jack socket. He also wanted to upgrade the simple top mounted bridge plate to the more advanced (and incidentally Ned Steinberger designed for Spector basses in the 1980s) recessed 3D bridge with sustain block and matching recessed "V" tailpiece. Time to get the router out! |
|
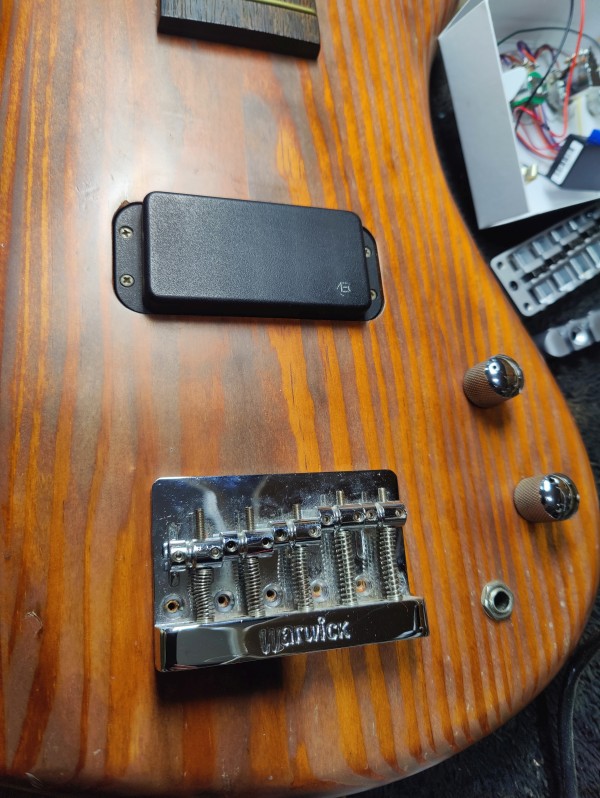
The original simple top mounted bridge and also showing the volume, tone and input jack arrangement. |
|
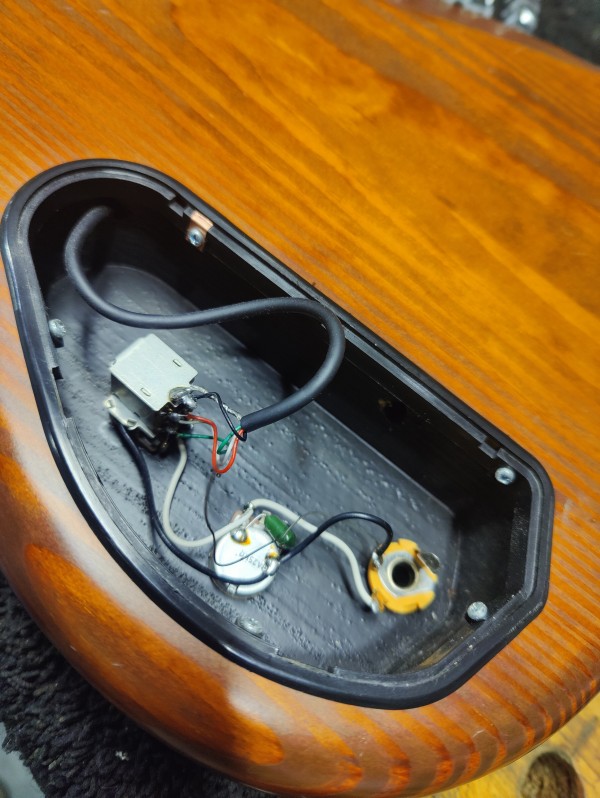
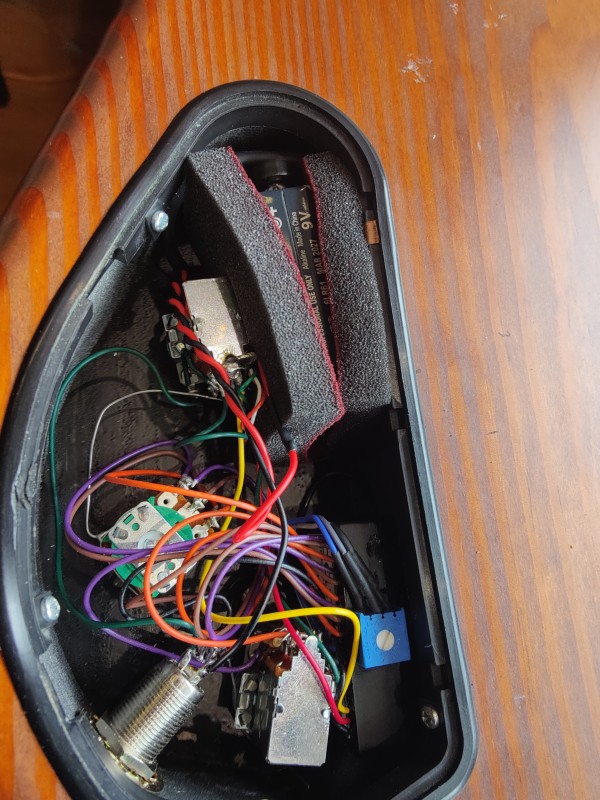
The standard Warwick cavity is more than large enough to house the more advanced upgraded active circuit with circuit boards and battery as can be seen in a later picture. |
|
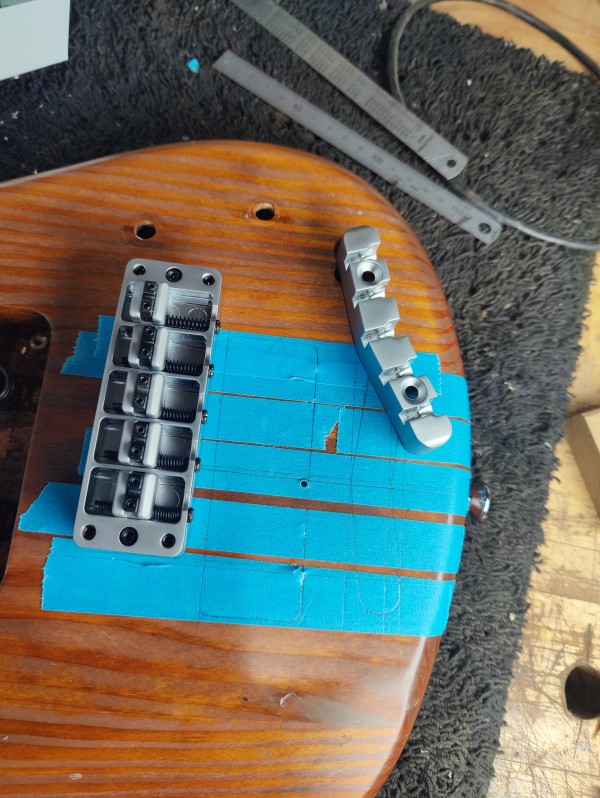
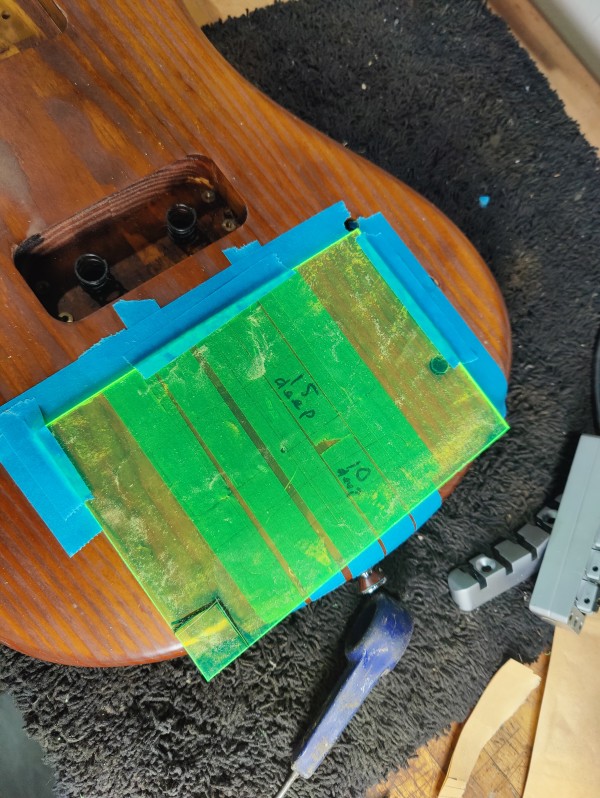
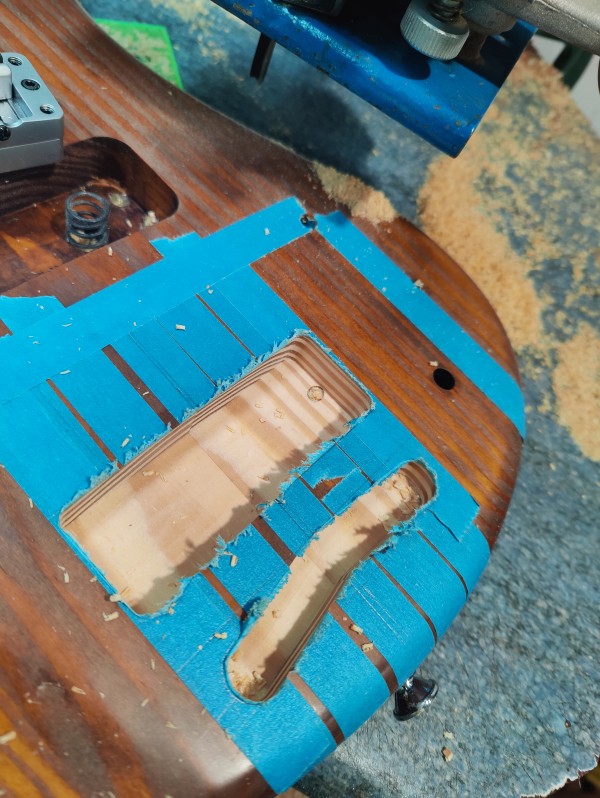
I'm drawing up the position of the new bridge and tailpice and establishing a centre line before routing the cavitiies to accept the new units. |
|
It's always good to double check all dimensions and recess depths as it's not as easy to replace what has been taken away. |
|
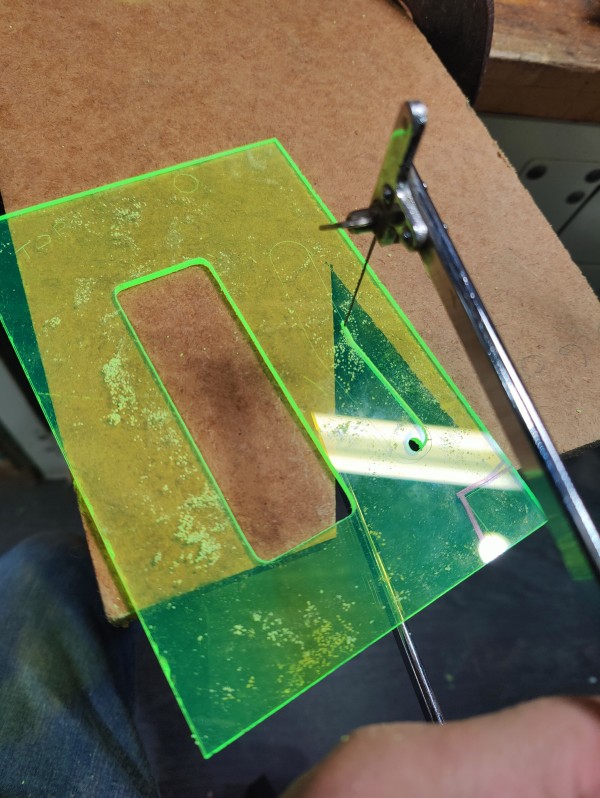
I've been using this acrylic template material for 40 years. It's transparent, marks well and any scores I make seem to illuminate as if trapped internal light is finally managing to escape it's prison. It also cuts and works well and is pretty tough so perfect to use with jigs and tooling. |
|
And here I'm using my trusty frtetsaw to follow the scribe marks I have made. The areas I'm removing are exactly the same size as the holes I will rout on the body. A pin on the table will follow the lines of this template. |
|
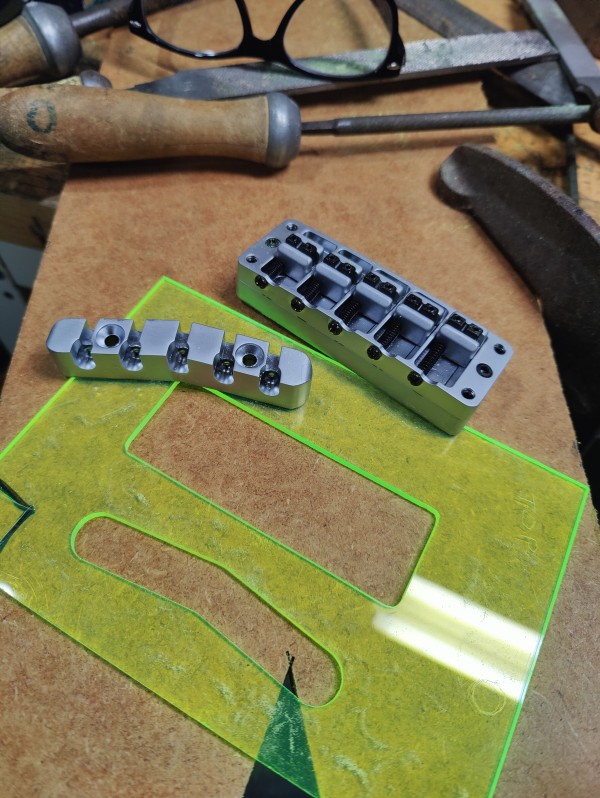
The stencil is now finished and the new bridge and tailpiece are a precise fit on the routing template. |
|
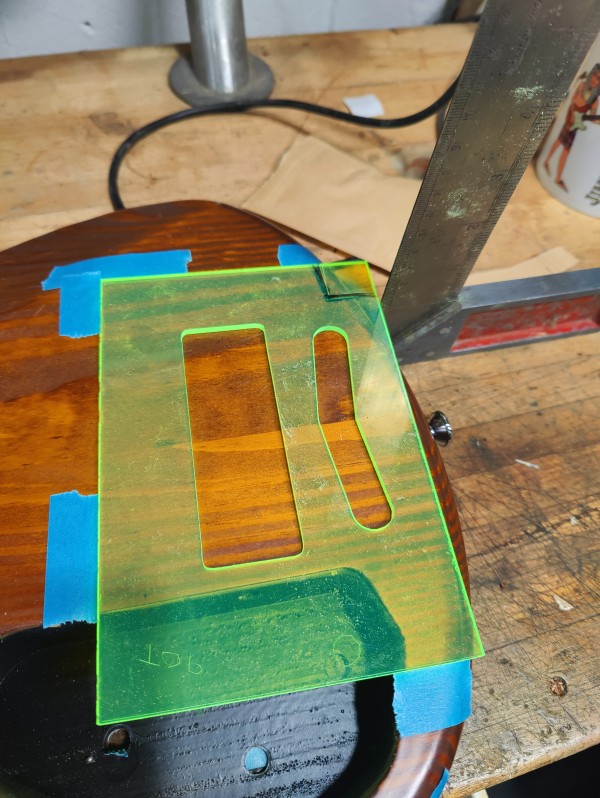
I now have to carefully align the template on the rear face of the bass body...this is the opposite side on which I will cut the recesses. I use double sided adhesive tape for this. The pin on the routertable will follow my template and the router cutter mounted accurately in the router motor above will cut the timber. |
|
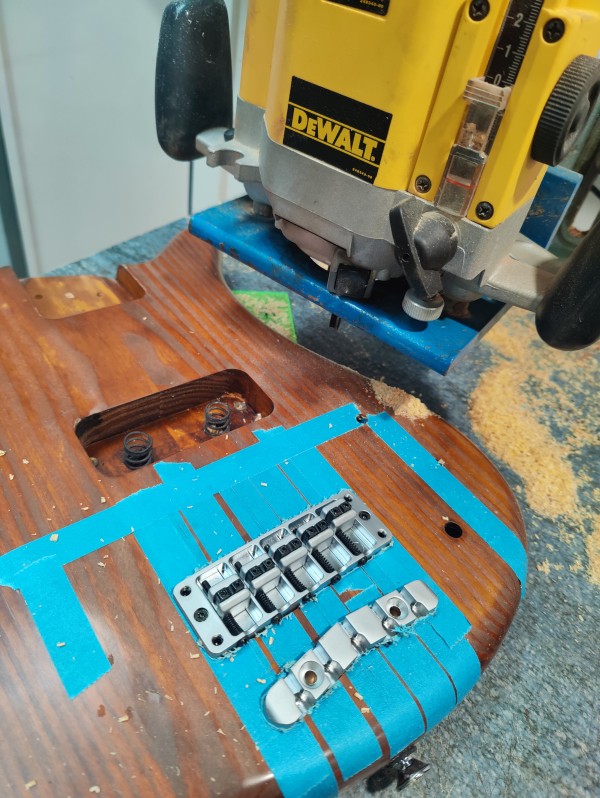
The router cutting bit in the router chuck sits perfectly aligned with a follow pin on the router table. The template follows the pin and cuts precisely the limits of the matching template resulting in the desired removal of wood. I just have to measure the depth of cut. |
|
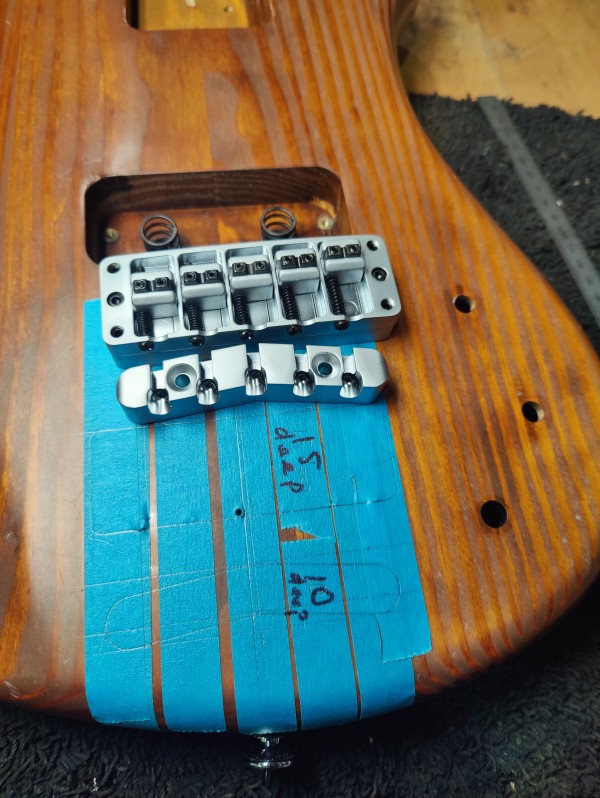
The new parts fit correctly and precisely in the cutouts. This is my small pin router. It sits in a custom made rack and pinion frame which allows me to manually adjust depth of cut. |
|
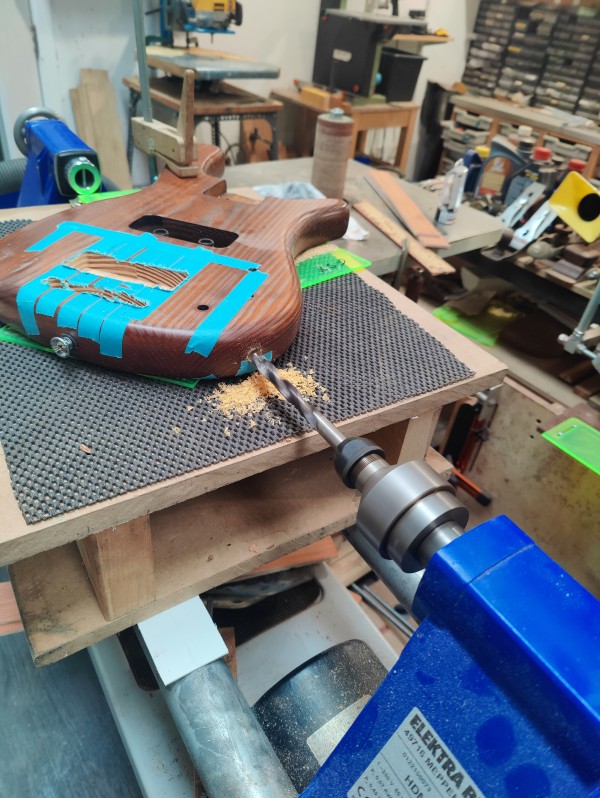
This machine is a converted lathe that we use as a horizontal borer. This is the best, safest and most precise method to use for drilling accurate holes on sides or edges of instruments. In the background you can see my small pin router table. |
|
The new actives fit easily into the existing control, cavity. |
|
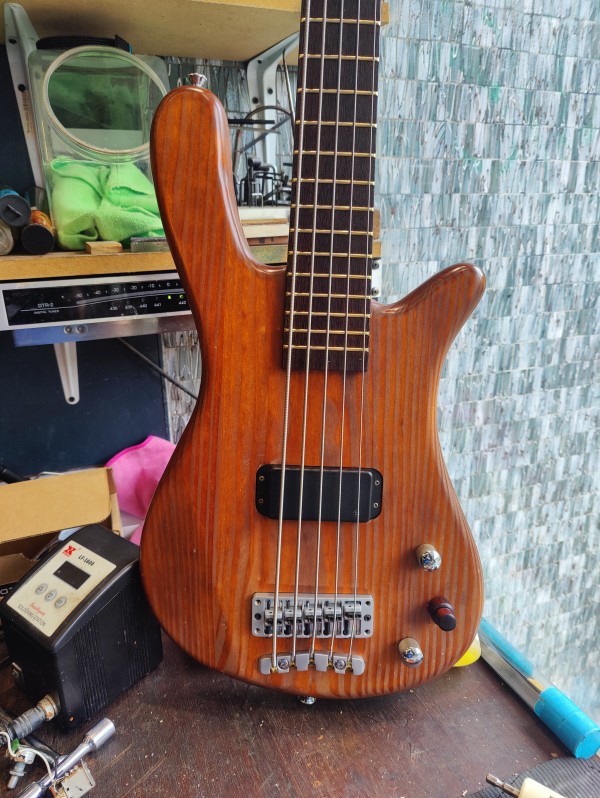
This is the finished bass showing the installed hardware. |
|
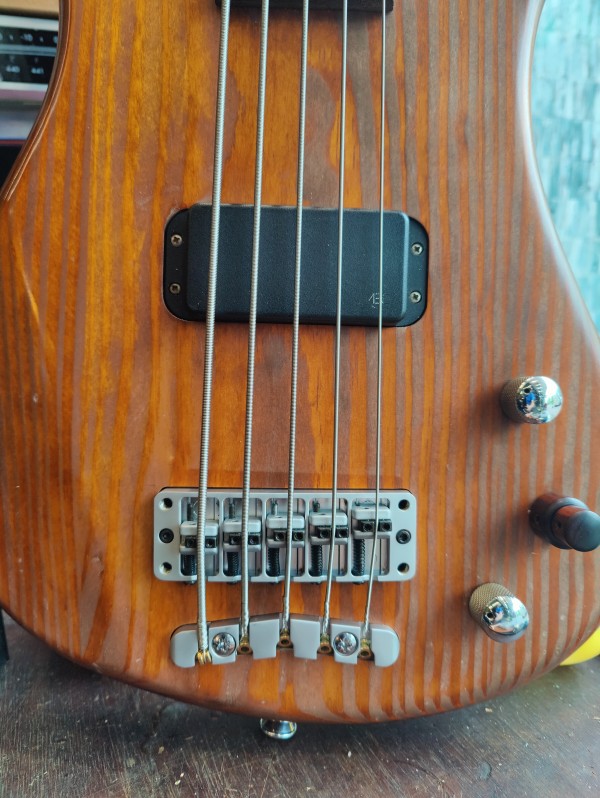
A close up of the installation. The double decker knob is a dual concentric bass and treble control. |
Well Done Cutty Sark!